Hi!
These arrived:
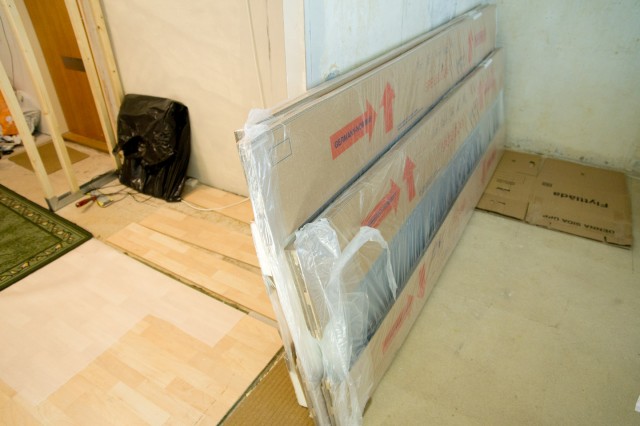
It’s two doors times two wardrobes. I’m not ready to install them just yet but I thought it would be a good idea to try to install the top and bottom rails that the doors will run in. That way I will know about any potential issues that would require me to do any modifications to the left wardrobe wall I’m building.
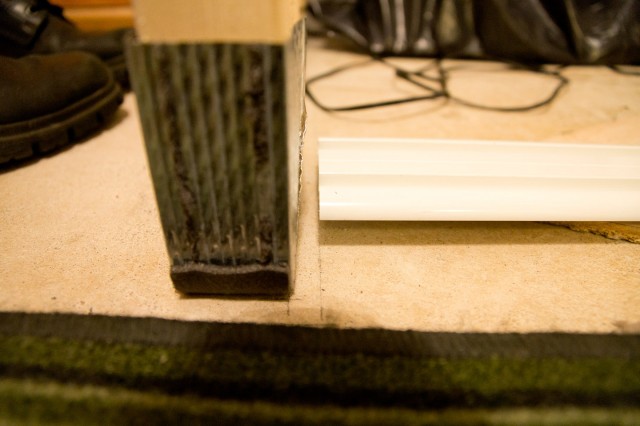
So I layed out the floor rail and set it in place. When I ordered the sliding door kit I was asked for the width of the space they will be installed in. I had no existing measurement but I decided that I will have 186 cm.
I was expecting the manufacturer to add some margins and make the rails a few mm short. That, they didn’t. I’m guessing it all depends on the retailing store you go to. Some may take your measurement and add a margin before sending the order to the factory.
This means I will probably have to sand away some material either from the rails or the walls.
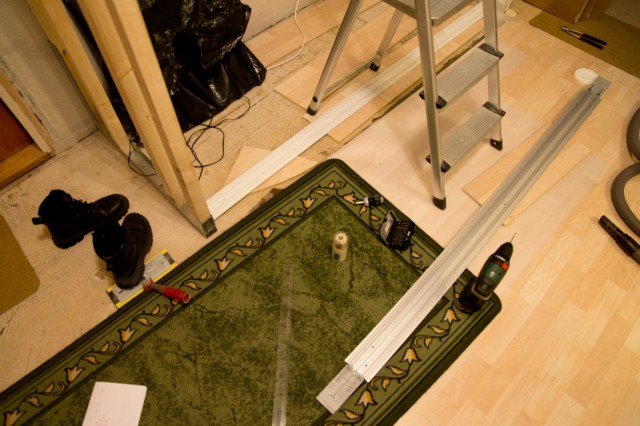
Anyways. I did the ceiling rail too. It comes with screws but you have to drill holes yourself. It also comes with four plastic spacers that are supposed to sit between the rail and the ceiling just next to where you choose to put the screws. This is to make up for the metal plates that holds the soft closing mechanism.
I decided to put in seven screws instead.
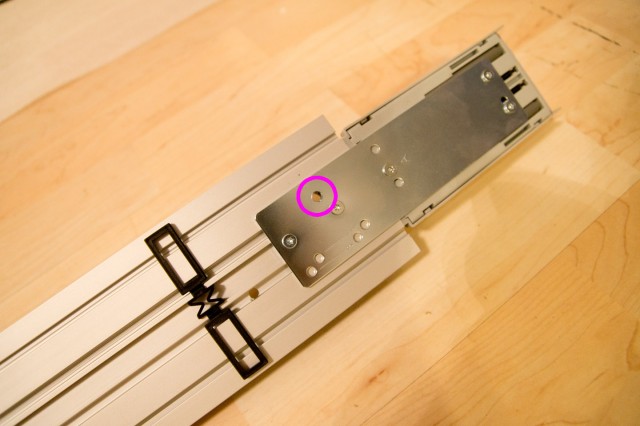
The screws you put in the “back” of the rail will never be visible since there will be doors covering these at all times. The ones in the front though may be visible so I decided to have one screw in the center (where it will be covered by the front door regardless if that door is pushed to the left or to the right) and a screw in each end of the rail. That required me to make a hole through the metal plate too.
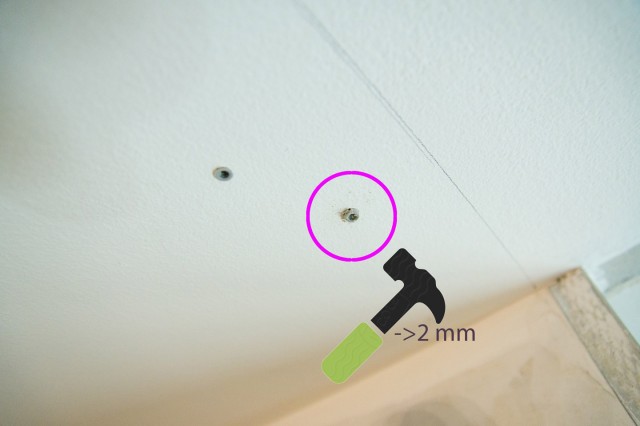
When the holes were made in the rail I could transfer the holes positions to the ceiling. I did this as carefully as I could and then double checked by measuring from my marked out line. Since I made the line with a laser to mark out a straight line where the front of the wardrobe will be AND I pretty much expect the aluminum rail to be perfectly straight I can actually trust the tape measurer to mark out where the holes need to be.
When drilling holes in my ceiling you never know what you will end up drilling into. Most holes went well but two of them went straight into some metal which in my case can be either some reinforcement for the concrete or a protection for an electrical conduit. So I don’t want to drill through it. I just used shorter screws and mashed the plugs to be 2mm.
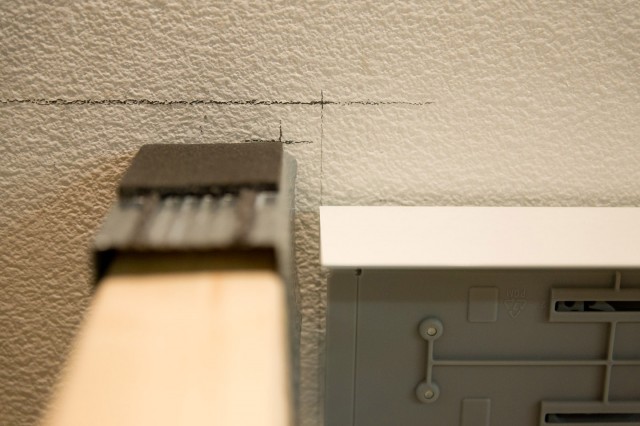
When the rail was mounted it proved to be a little too perfect in length. If I want to use 13 mm (1/2″) MDF for the wall side I will have to carve or sand away a bit of material to make it fit.
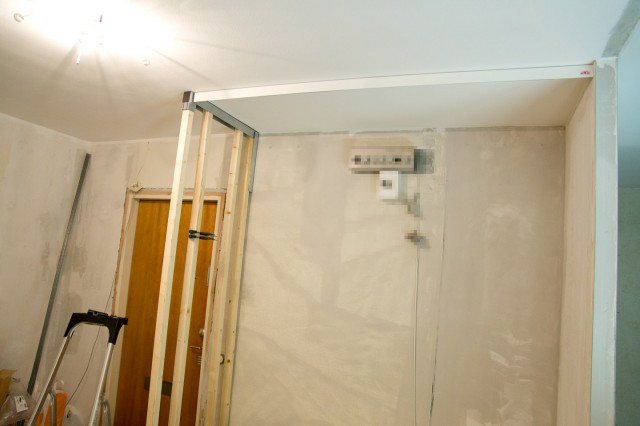
Now I have the rail in place but I will have to remove it again to be able to do painting and other stuff. But now that the holes are made it’s easy to just put it up when the time comes.
The sketch below displays my idea to lower the ceiling outside the wardrobe but keeping the wardrobe itself the full height as it is now.
