Category Archives: Construction and progress

Construction, development, tips and mistakes and real life footage

ELFA sliding doors

Hi!

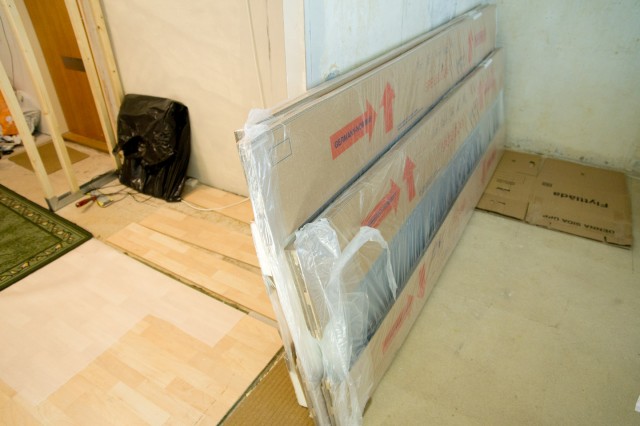
These arrived:

_DSC4170
It’s two doors times two wardrobes. I’m not ready to install them just yet but I thought it would be a good idea to try to install the top and bottom rails that the doors will run in. That way I will know about any potential issues that would require me to do any modifications to the left wardrobe wall I’m building.
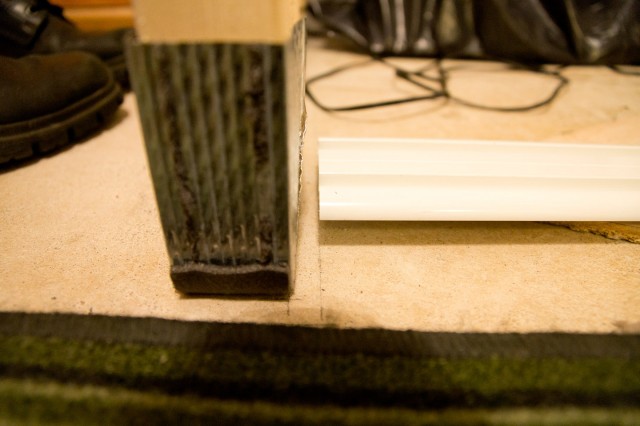
_DSC4171
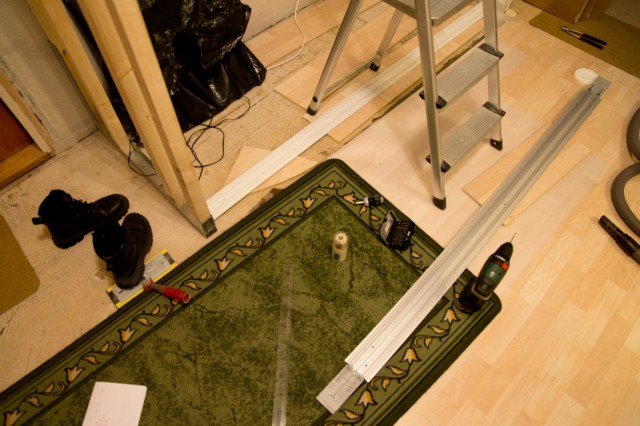
So I layed out the floor rail and set it in place. When I ordered the sliding door kit I was asked for the width of the space they will be installed in. I had no existing measurement but I decided that I will have 186 cm.
I was expecting the manufacturer to add some margins and make the rails a few mm short. That, they didn’t. I’m guessing it all depends on the retailing store you go to. Some may take your measurement and add a margin before sending the order to the factory.

This means I will probably have to sand away some material either from the rails or the walls.
_DSC4172
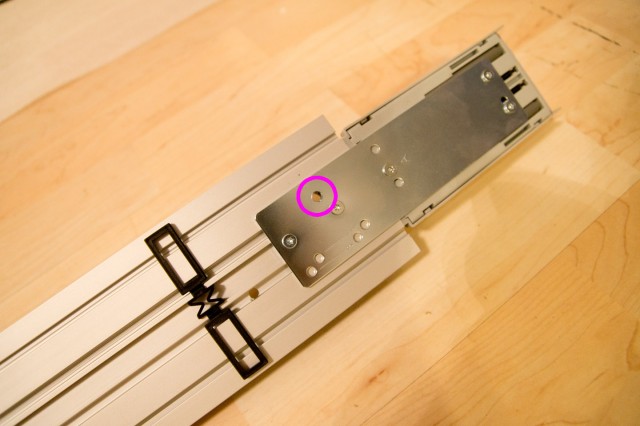
Anyways. I did the ceiling rail too. It comes with screws but you have to drill holes yourself. It also comes with four plastic spacers that are supposed to sit between the rail and the ceiling just next to where you choose to put the screws. This is to make up for the metal plates that holds the soft closing mechanism.

I decided to put in seven screws instead.
_DSC4173
The screws you put in the “back” of the rail will never be visible since there will be doors covering these at all times. The ones in the front though may be visible so I decided to have one screw in the center (where it will be covered by the front door regardless if that door is pushed to the left or to the right) and a screw in each end of the rail. That required me to make a hole through the metal plate too.
_DSC4174
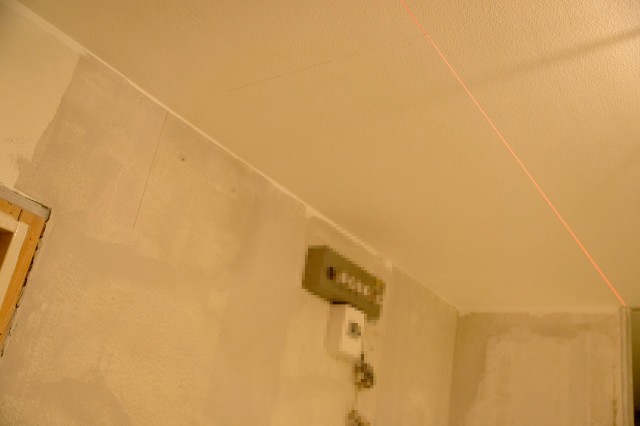
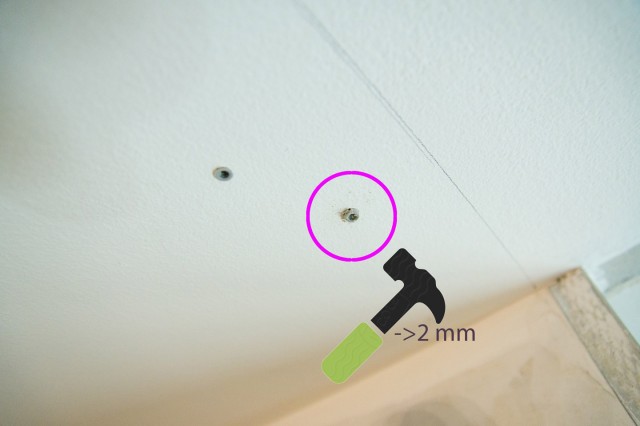
When the holes were made in the rail I could transfer the holes positions to the ceiling. I did this as carefully as I could and then double checked by measuring from my marked out line. Since I made the line with a laser to mark out a straight line where the front of the wardrobe will be AND I pretty much expect the aluminum rail to be perfectly straight I can actually trust the tape measurer to mark out where the holes need to be.

When drilling holes in my ceiling you never know what you will end up drilling into. Most holes went well but two of them went straight into some metal which in my case can be either some reinforcement for the concrete or a protection for an electrical conduit. So I don’t want to drill through it. I just used shorter screws and mashed the plugs to be 2mm.
_DSC4175
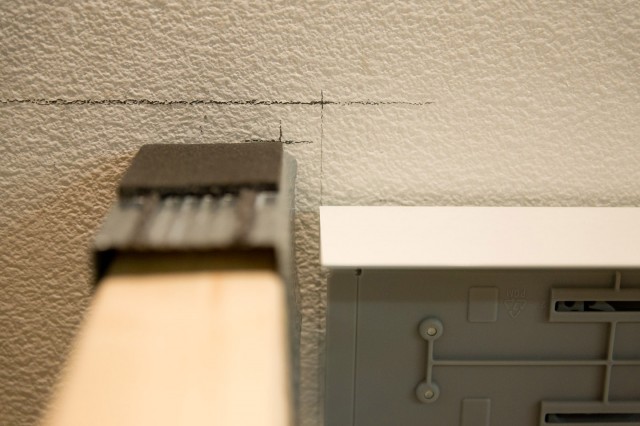
When the rail was mounted it proved to be a little too perfect in length. If I want to use 13 mm (1/2″) MDF for the wall side I will have to carve or sand away a bit of material to make it fit.
_DSC4177
Now I have the rail in place but I will have to remove it again to be able to do painting and other stuff. But now that the holes are made it’s easy to just put it up when the time comes.

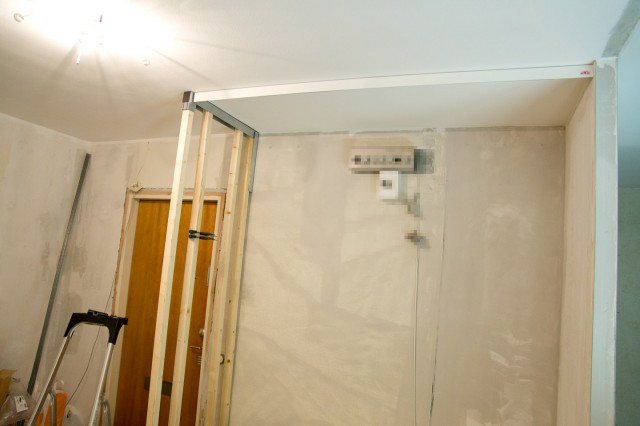
The sketch below displays my idea to lower the ceiling outside the wardrobe but keeping the wardrobe itself the full height as it is now.

7b

Soon there

_DSC4168
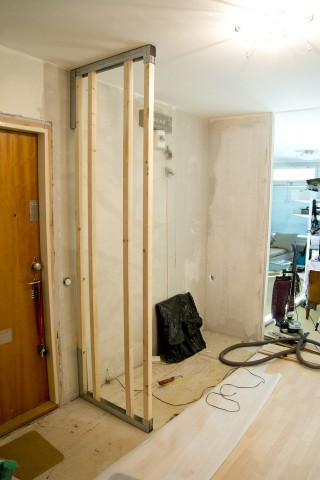
Looking like a wall almost.
Thanks to a lot of preparation I had only to drill the holes in the wall, ceiling and floor which is very easy with a hammer drill even though the walls are rock hard. Now my language skills fails me since I don’t know the correct term for hammer drill. Anyways. It needs to be one with actual hammering (With SDS bits I believe). I have tried with drills with sort of a hammer function – completely withouth luck. It takes forever and you damage the drill bits.

Then I put in some plugs and screws and everything is actually sitting spot on where I wanted it to. The wood studs weren’t perfectly straight which you can’t expect but it will be fine when I mount the sides. I’ll need to shorten a few of them about 1 mm (1/32″) or something to get them in place though. And I need to think about where I want to install a ventilation hole in the wall…
I will have to wait for my new jigsaw until I go and pick up some sheets of MDF anyway. Also I need to remember to buy a decent respirator before I begin working on MDF. I thinks it’s formaldehyde or something nasty in that dust.

Cute Cuter Cutter

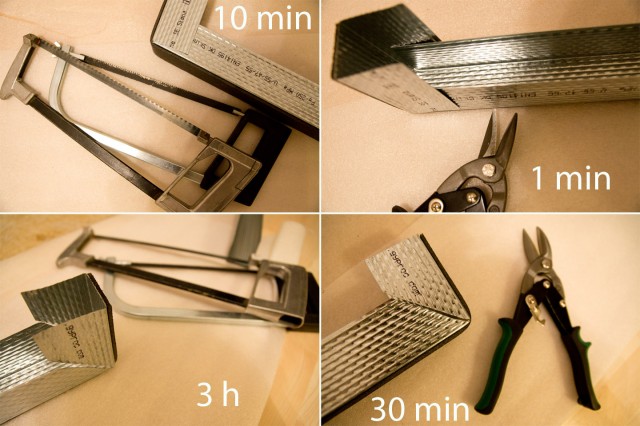
Oh my. I did as I said in the previous post and tried the hacksaw for cutting this steel. I recommend you don’t do that. I went to buy a suitable tool instead. I think this picture explains why.

benchmarks
Anyone who have done this before is probably laughing. And those who have not can hopefully learn from my endeavors and mistakes.
My further recommendation would be to cut the sides of the rail with two straight cuts about 2 mm apart, remove the shred and then fold as in the upper two pictures. The reason I wanted to do as in the lower two pictures and cut away the double sheet layers was that I want the wall as close to 7 cm wide as possible but the extra mm (1/32″) you get by folding the edges on top of each other is perfectly ok and definitly worth the time saved.

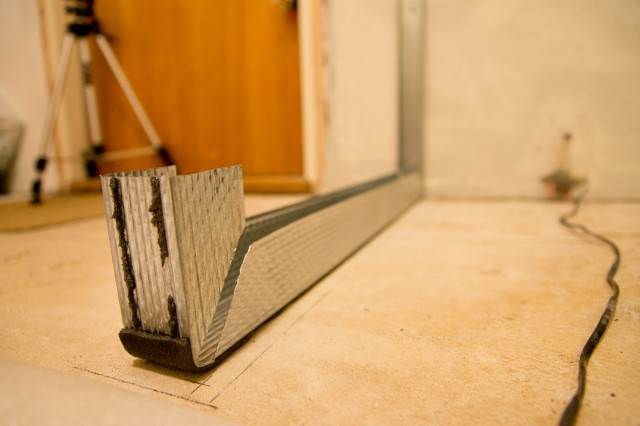
Now I measured and made the bottom rail the correct length. I removed part of the foam to ensure I got the right length since the end piece of MDF will be mounted against the steel and not the foam. Note that the MDF sides will not go all the way down. I will leave room for the parquet flooring to expand underneith.
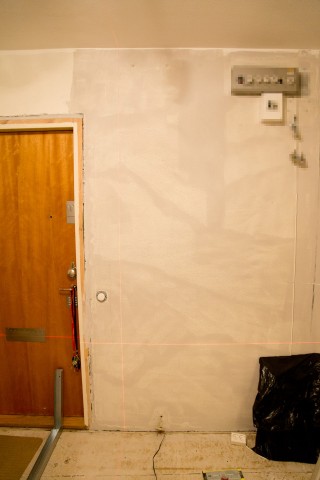
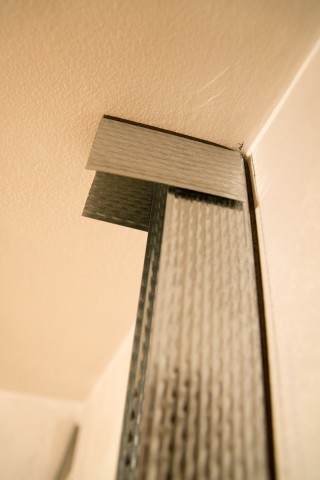
Then I used the leveling laser to find out where the cieling rail will be and cut that the same way.

_DSC4161_DSC4162_DSC4166_DSC4163
Haha! I censored the electrics. You should always respect electricity and don’t leave bare wires. In this case I made sure that it’s safe and double checked and triple checked. It’s not worth it to take any chances at all.

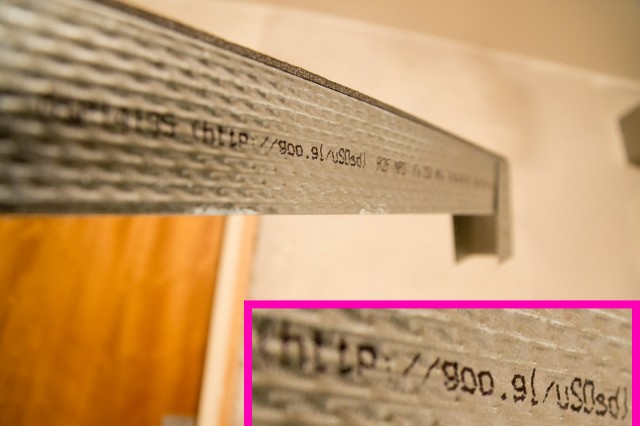
One more thing. I have clicked many shortened links in my past not knowing where I would end up. I’ve clicked them on twitter. I’ve clicked them in chats, fb, reddit etc. But I have not clicked them on a piece of construction material. Not until today.

_DSC4167