Center speaker introduction

Ohoy! How are you?

It’s been some time since I last updated the blog.

While still making stuffies with the apartment I now take the time helping a friend build a speaker. I felt this was a great opportunity to come back here.

The existing speaker setup he has lacks a center speaker. And he got some extra speaker drivers that match, but no cabinet for them. So that’s why we are building one.

You can read about the speakers on this page if you find that interesting http://www.stereophile.com/floorloudspeakers/snell_acoustics_type_a_reference_loudspeaker/

So the center speaker is supposed to match the stereo setup both acoustically and aesthetically. To get an idea of these factors you need to bing (or google) “Snell reference” and find the Type A that is from around 1993. Because I only have this picture which isn’t really bringing that walnut flavour.
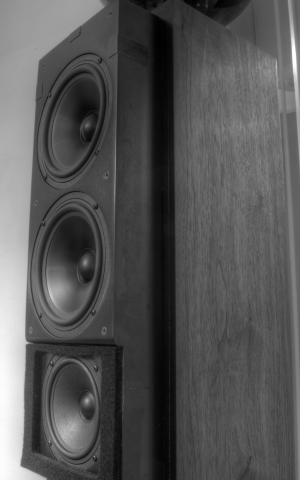
IMG_5506_7_8_tonemapped.jpg_thumb

Where do one begin when designing/constructing a speaker?

First we discussed the drivers and the filters. Filters are components such as coils and condensators that is also needed to make a functional speaker. In most cases the filters are fitted inside the speaker and you don’t think about it. But in this case we decided to make a separate box for the filters. This makes the speaker design and construction a little bit easier first of all, because we got one less thing to take in consideration. But also it matches the existing speakers in that they already got filters in their own separate wooden enclosures.

Ok. Then the speaker can have any shape and look as crazy as you want?
I am no speaker constructor or audio expert but I know there are a few aspects to keep in mind.

1. Box volume. You need to make some calculations to make the box a certain inner volume.

2. Box proportions. You don’t want the box to be cubic for example. The book “Loudspeaker Design Cookbook” contains a reference to a shape study that states that a sphere shape would be optimal and a cube shape the worst scenario. Picture something right in between. What do you see? Please make a drawing and send it to me.

3. Minimum measurements. The front piece of the speaker where the drivers are mounted is called the baffle. This is usually the thickest piece and will be at least about 25 mm (1 inch). In our case we want to make the front sort of the same style as the existing speakers. This requires part of the baffle to partly be around double the thickness. So that makes a very thich baffle.
Next the drivers got a depth and you dont want the back wall too close. Also you want to have a lot of dampening material especially right behind the drivers.
So this does make most speakers rather deep!
And then of course the visible round parts of the driver. They need to fit. With these drivers that gives a baffle width and height a minimum of about 40 by 15 cm (15 by 6 inches).

You really aren’t left with very much to play with :(

Next I will get more into the details of construction and design ideas. Thanks for taking the time to read!
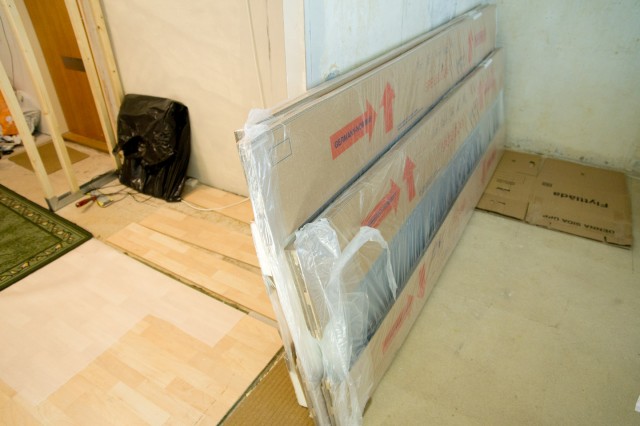
ELFA sliding doors

Hi!

These arrived:

_DSC4170
It’s two doors times two wardrobes. I’m not ready to install them just yet but I thought it would be a good idea to try to install the top and bottom rails that the doors will run in. That way I will know about any potential issues that would require me to do any modifications to the left wardrobe wall I’m building.

_DSC4171
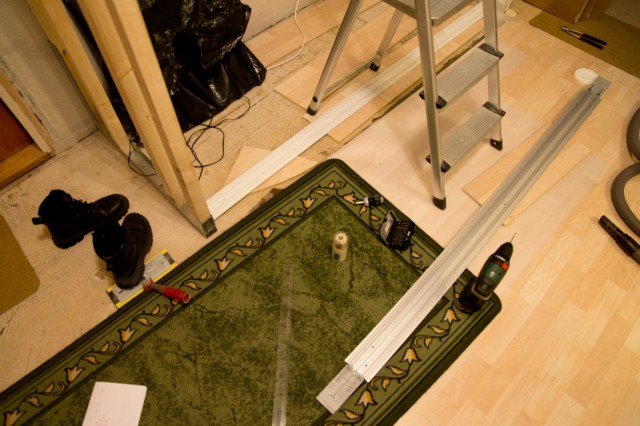
So I layed out the floor rail and set it in place. When I ordered the sliding door kit I was asked for the width of the space they will be installed in. I had no existing measurement but I decided that I will have 186 cm.
I was expecting the manufacturer to add some margins and make the rails a few mm short. That, they didn’t. I’m guessing it all depends on the retailing store you go to. Some may take your measurement and add a margin before sending the order to the factory.

This means I will probably have to sand away some material either from the rails or the walls.

_DSC4172
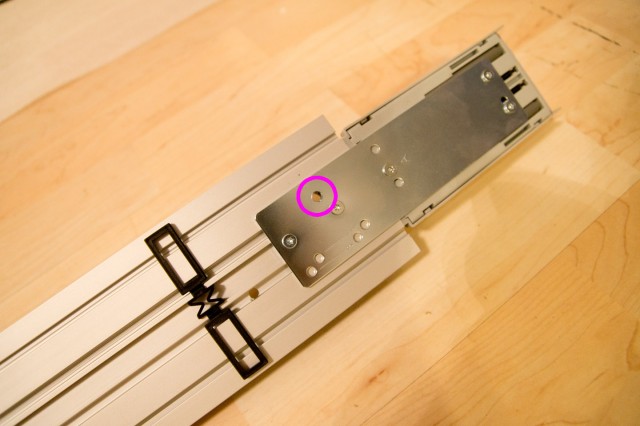
Anyways. I did the ceiling rail too. It comes with screws but you have to drill holes yourself. It also comes with four plastic spacers that are supposed to sit between the rail and the ceiling just next to where you choose to put the screws. This is to make up for the metal plates that holds the soft closing mechanism.

I decided to put in seven screws instead.

_DSC4173
The screws you put in the “back” of the rail will never be visible since there will be doors covering these at all times. The ones in the front though may be visible so I decided to have one screw in the center (where it will be covered by the front door regardless if that door is pushed to the left or to the right) and a screw in each end of the rail. That required me to make a hole through the metal plate too.

_DSC4174
When the holes were made in the rail I could transfer the holes positions to the ceiling. I did this as carefully as I could and then double checked by measuring from my marked out line. Since I made the line with a laser to mark out a straight line where the front of the wardrobe will be AND I pretty much expect the aluminum rail to be perfectly straight I can actually trust the tape measurer to mark out where the holes need to be.

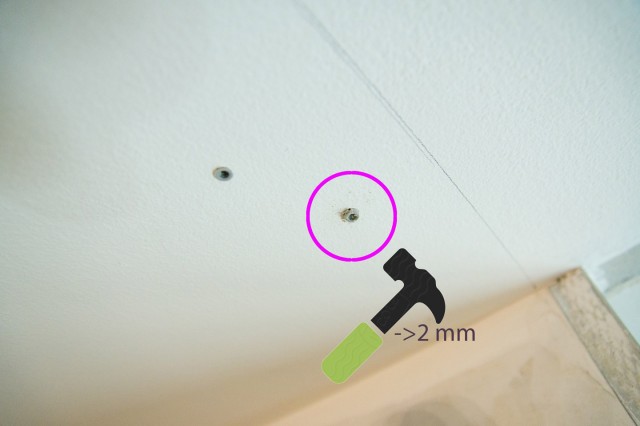
When drilling holes in my ceiling you never know what you will end up drilling into. Most holes went well but two of them went straight into some metal which in my case can be either some reinforcement for the concrete or a protection for an electrical conduit. So I don’t want to drill through it. I just used shorter screws and mashed the plugs to be 2mm.

_DSC4175
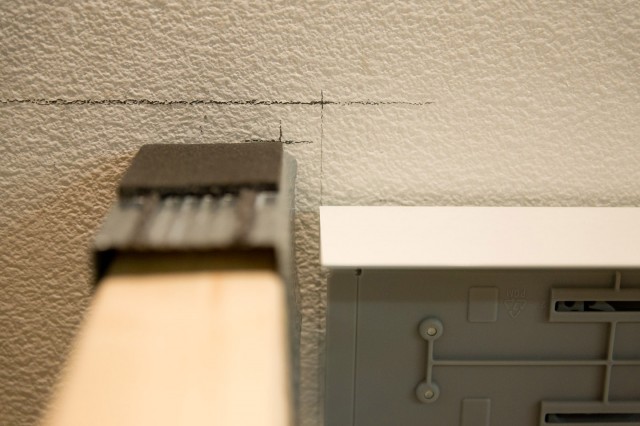
When the rail was mounted it proved to be a little too perfect in length. If I want to use 13 mm (1/2″) MDF for the wall side I will have to carve or sand away a bit of material to make it fit.

_DSC4177
Now I have the rail in place but I will have to remove it again to be able to do painting and other stuff. But now that the holes are made it’s easy to just put it up when the time comes.

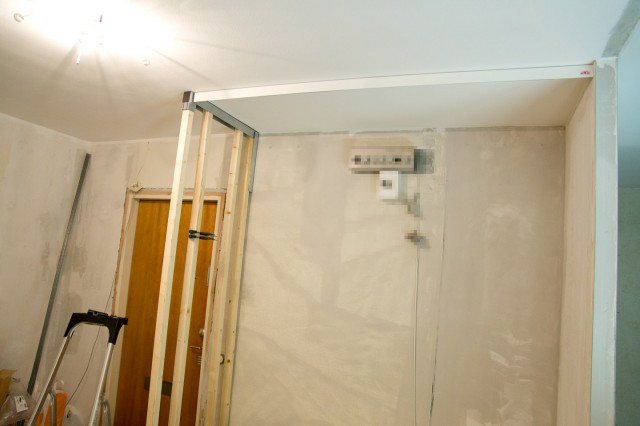
The sketch below displays my idea to lower the ceiling outside the wardrobe but keeping the wardrobe itself the full height as it is now.

7b

Soon there

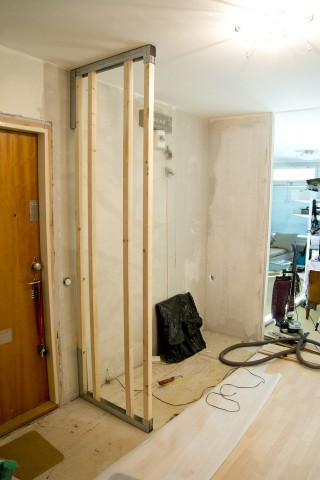
_DSC4168
Looking like a wall almost.
Thanks to a lot of preparation I had only to drill the holes in the wall, ceiling and floor which is very easy with a hammer drill even though the walls are rock hard. Now my language skills fails me since I don’t know the correct term for hammer drill. Anyways. It needs to be one with actual hammering (With SDS bits I believe). I have tried with drills with sort of a hammer function – completely withouth luck. It takes forever and you damage the drill bits.

Then I put in some plugs and screws and everything is actually sitting spot on where I wanted it to. The wood studs weren’t perfectly straight which you can’t expect but it will be fine when I mount the sides. I’ll need to shorten a few of them about 1 mm (1/32″) or something to get them in place though. And I need to think about where I want to install a ventilation hole in the wall…
I will have to wait for my new jigsaw until I go and pick up some sheets of MDF anyway. Also I need to remember to buy a decent respirator before I begin working on MDF. I thinks it’s formaldehyde or something nasty in that dust.